
Spruce Up Your Home with These Simple Decoration Ideas
Spruce Up Your Home with These Simple Decoration Ideas
Quick and Easy DIY Wall Art
Injecting personality into your living space doesn’t have to break the bank. Get creative with DIY wall art projects using materials you already have at home. From framed prints to hand-painted canvases, let your imagination run wild and adorn your walls with unique pieces that reflect your style.
Revamp Your Furniture with a Fresh Coat of Paint
Give old furniture a new lease on life by painting it in vibrant colors or chic neutrals. Whether it’s a tired dresser, a worn-out coffee table, or mismatched chairs, a fresh coat of paint can instantly transform them into statement pieces. Experiment with different techniques like distressing or stenciling for added flair.
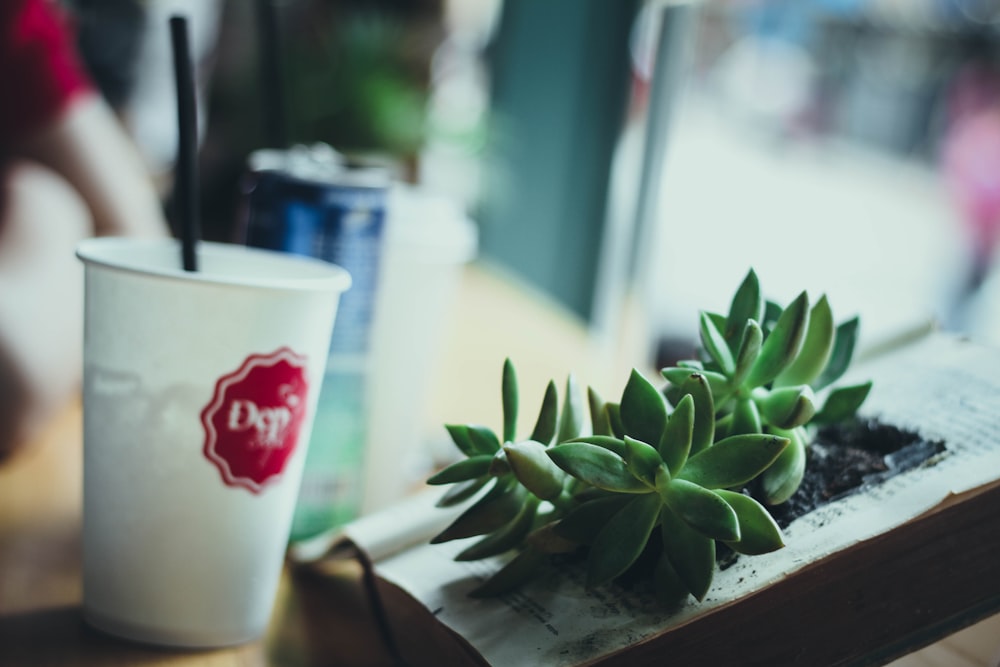
Add Greenery with Indoor Plants
Bringing the outdoors in is a surefire way to breathe life into your home decor. Incorporate indoor plants of varying sizes and shapes to add texture and color to any room. From low-maintenance succulents to leafy ferns, there’s a plant to suit every space and style. Don’t forget to accessorize with stylish planters to complete the look.
Upgrade Your Lighting Fixtures
Good lighting can make all the difference in creating a warm and inviting atmosphere. Swap out outdated light fixtures with modern alternatives that complement your decor style. Whether you prefer sleek pendant lights, vintage-inspired chandeliers, or minimalist sconces, updating your lighting can instantly elevate the ambiance of your home.
Accessorize with Textiles
Incorporate soft furnishings like throw pillows, blankets, and rugs to add warmth and coziness to your living space. Opt for textiles in bold patterns, rich textures, and vibrant hues to make a statement and infuse personality into your decor. Mix and match different fabrics and colors to create a visually appealing and inviting environment.
Create a Gallery Wall
Displaying cherished memories and artwork on a gallery wall is a great way to personalize your space. Curate a collection of photographs, prints, and paintings that reflect your interests and experiences. Arrange them in an eclectic or symmetrical layout to create a focal point and add visual interest to your walls.
Organize with Storage Solutions
Decluttering and organizing your home can instantly make it feel more spacious and inviting. Invest in stylish storage solutions like baskets, bins, and shelves to corral clutter and keep your belongings neatly organized. Maximize vertical space with wall-mounted shelves and utilize multifunctional furniture with built-in storage to maximize efficiency.
Experiment with Accent Walls
Make a bold statement in any room by painting or wallpapering an accent wall. Choose a bold color or eye-catching pattern to create a focal point and add visual interest to your space. Accent walls are a great way to showcase your personality and style without overwhelming the entire room.
Personalize with Art and Accessories
Infuse your home with personality by displaying artwork and accessories that speak to your interests and passions. Whether it’s a vintage find, a cherished family heirloom, or a piece of handmade pottery, incorporating personal touches into your
Creative Floors: DIY Stencils for Unique Home Elegance


Unlocking Creativity: DIY Floor Stencils for Unique Home Elegance
When it comes to transforming your home’s floors, creativity knows no bounds. DIY floor stencils provide an innovative and budget-friendly way to add unique elegance to your space. In this guide, we’ll delve into the world of DIY floor stencils, exploring the benefits and offering step-by-step insights.
1. The Appeal of DIY Floor Stencils: A Budget-Friendly Upgrade
DIY floor stencils have gained popularity for their ability to provide a budget-friendly alternative to traditional flooring options. Whether you’re looking to revamp a room or add a touch of personality to a bland space, stencils offer a cost-effective solution with limitless design possibilities.
2. Choosing the Right Stencil Design: From Classic to Contemporary
The first step in your DIY floor stencil project is selecting the right design. From classic geometric patterns to intricate motifs and contemporary abstract designs, the choices are vast. Consider the overall theme of your space and personal preferences when making this creative decision.
3. Essential Tools and Materials: Setting the Foundation
Gather the essential tools and materials before starting your DIY floor stencil project. These typically include high-quality stencils, painter’s tape, a stencil brush or roller, and floor-appropriate paint. Having the right supplies ensures a smooth and successful stenciling process.
4. Preparing the Floor Surface: A Clean Canvas Matters
Preparation is key to a successful stencil application. Ensure your floor surface is clean, smooth, and free of any debris. Sand or patch any imperfections, and clean the surface thoroughly. A well-prepared canvas sets the stage for a flawless stencil application.
5. Stenciling Techniques: From Basic to Advanced
Mastering stenciling techniques is crucial for achieving professional-looking results. Practice on a spare surface before tackling your floor, and experiment with different brush or roller techniques. Whether you prefer a distressed, faded look or a crisp, bold pattern, understanding these techniques is essential.
6. Achieving Symmetry: Layout and Precision
When working with DIY floor stencils, achieving symmetry is key to a polished outcome. Begin by carefully laying out your stencil, ensuring it is centered and aligned with the room’s features. Precision in placement contributes to a cohesive and visually pleasing result.
7. Color Choices and Combinations: Harmonizing Your Space
Experiment with color choices and combinations to harmonize your space. Whether you opt for a monochromatic palette, bold contrasting colors, or subtle hues, the color scheme plays a significant role in the overall aesthetic impact of your DIY stenciled floor.
8. Sealing the Deal: Protecting Your Masterpiece
Once your stenciled floor is dry, protect your masterpiece with a clear sealant or polyurethane. This step not only enhances the durability of the painted surface but also guards against wear and tear. Choose a finish that complements your design and provides the level of protection needed for your specific floor type.
9. Maintenance and Longevity: Preserving the Beauty
Maintaining your DIY stenciled floor is relatively simple. Regular cleaning with a mild detergent and avoiding harsh chemicals will help preserve the beauty of the design. With