
Tailored Flooring Diverse Custom Options
When it comes to flooring, one size does not fit all. Custom flooring options offer a unique opportunity to tailor your home’s aesthetic to your individual preferences and lifestyle. Let’s delve into the world of customized flooring and explore the endless possibilities for creating a truly personalized space.
Understanding Your Needs: Assessing Lifestyle and Preferences
The first step in choosing custom flooring is to assess your specific needs, lifestyle, and preferences. Consider factors such as the level of foot traffic in each room, the presence of pets or children, and your design aesthetic. Are you drawn to the warmth of hardwood, the durability of tile, or the softness of carpet? By understanding your unique requirements, you can narrow down your options and make informed decisions that align with your vision for your home.
Exploring Material Options: Endless Variety and Versatility
Custom flooring options encompass a wide range of materials, each with its own unique characteristics and benefits. From traditional hardwood and luxurious carpet to contemporary tile and eco-friendly bamboo, the possibilities are endless. Consider the pros and cons of each material in terms of durability, maintenance, and style to find the perfect fit for your space. With custom flooring, you have the freedom to mix and match materials to create a cohesive yet dynamic look that reflects your personal taste and lifestyle.
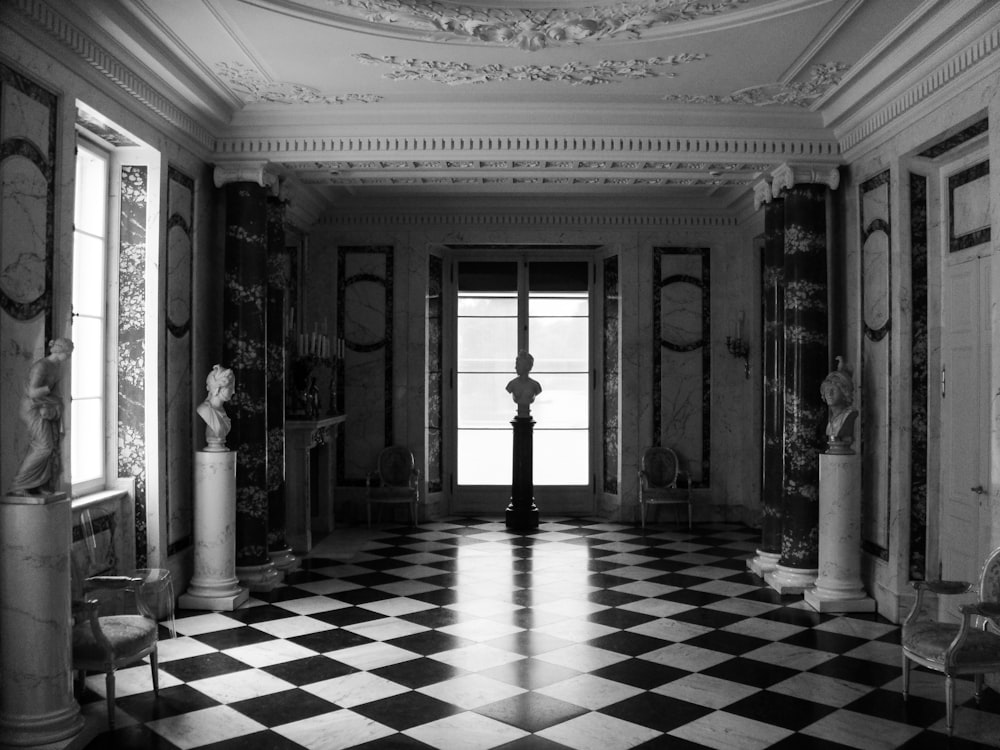
Embracing Unique Patterns and Designs: Making a Statement
One of the most exciting aspects of custom flooring is the ability to incorporate unique patterns and designs that reflect your personality and style. Whether you prefer classic herringbone hardwood, intricate mosaic tile, or bold geometric carpet, custom flooring allows you to make a statement with your design choices. Experiment with different layouts, colors, and textures to create visual interest and enhance the overall ambiance of your home. With custom flooring, your imagination is the only limit.
Considering Environmental Impact: Prioritizing Sustainability
For eco-conscious homeowners, sustainability is a top priority when choosing flooring materials. Fortunately, custom flooring options include a variety of environmentally friendly choices that minimize your carbon footprint and contribute to a healthier planet. Look for materials such as reclaimed wood, bamboo, cork, or recycled glass that are responsibly sourced and manufactured. By prioritizing sustainability in your flooring choices, you can create a beautiful and eco-friendly home that aligns with your values.
Incorporating Comfort and Functionality: Enhancing Daily Living
In addition to aesthetics, custom flooring should also prioritize comfort and functionality to enhance your daily living experience. Consider factors such as underfloor heating, noise reduction, and slip resistance to create a safe and comfortable environment for your family. With custom flooring, you have the flexibility to choose features and accessories that meet your specific needs and preferences, whether it’s plush carpet padding, waterproof sealants, or easy-to-clean finishes. By prioritizing comfort and functionality, you can create a home that is as practical as it is stylish.
Investing in Quality Installation: Ensuring Longevity and Performance
The key to achieving stunning custom flooring is professional installation by experienced professionals. Proper installation
Creative Floors: DIY Stencils for Unique Home Elegance


Unlocking Creativity: DIY Floor Stencils for Unique Home Elegance
When it comes to transforming your home’s floors, creativity knows no bounds. DIY floor stencils provide an innovative and budget-friendly way to add unique elegance to your space. In this guide, we’ll delve into the world of DIY floor stencils, exploring the benefits and offering step-by-step insights.
1. The Appeal of DIY Floor Stencils: A Budget-Friendly Upgrade
DIY floor stencils have gained popularity for their ability to provide a budget-friendly alternative to traditional flooring options. Whether you’re looking to revamp a room or add a touch of personality to a bland space, stencils offer a cost-effective solution with limitless design possibilities.
2. Choosing the Right Stencil Design: From Classic to Contemporary
The first step in your DIY floor stencil project is selecting the right design. From classic geometric patterns to intricate motifs and contemporary abstract designs, the choices are vast. Consider the overall theme of your space and personal preferences when making this creative decision.
3. Essential Tools and Materials: Setting the Foundation
Gather the essential tools and materials before starting your DIY floor stencil project. These typically include high-quality stencils, painter’s tape, a stencil brush or roller, and floor-appropriate paint. Having the right supplies ensures a smooth and successful stenciling process.
4. Preparing the Floor Surface: A Clean Canvas Matters
Preparation is key to a successful stencil application. Ensure your floor surface is clean, smooth, and free of any debris. Sand or patch any imperfections, and clean the surface thoroughly. A well-prepared canvas sets the stage for a flawless stencil application.
5. Stenciling Techniques: From Basic to Advanced
Mastering stenciling techniques is crucial for achieving professional-looking results. Practice on a spare surface before tackling your floor, and experiment with different brush or roller techniques. Whether you prefer a distressed, faded look or a crisp, bold pattern, understanding these techniques is essential.
6. Achieving Symmetry: Layout and Precision
When working with DIY floor stencils, achieving symmetry is key to a polished outcome. Begin by carefully laying out your stencil, ensuring it is centered and aligned with the room’s features. Precision in placement contributes to a cohesive and visually pleasing result.
7. Color Choices and Combinations: Harmonizing Your Space
Experiment with color choices and combinations to harmonize your space. Whether you opt for a monochromatic palette, bold contrasting colors, or subtle hues, the color scheme plays a significant role in the overall aesthetic impact of your DIY stenciled floor.
8. Sealing the Deal: Protecting Your Masterpiece
Once your stenciled floor is dry, protect your masterpiece with a clear sealant or polyurethane. This step not only enhances the durability of the painted surface but also guards against wear and tear. Choose a finish that complements your design and provides the level of protection needed for your specific floor type.
9. Maintenance and Longevity: Preserving the Beauty
Maintaining your DIY stenciled floor is relatively simple. Regular cleaning with a mild detergent and avoiding harsh chemicals will help preserve the beauty of the design. With