
Renew and Shine: Laminate Floor Restoration

Revitalize Your Space: Laminate Floor Restoration
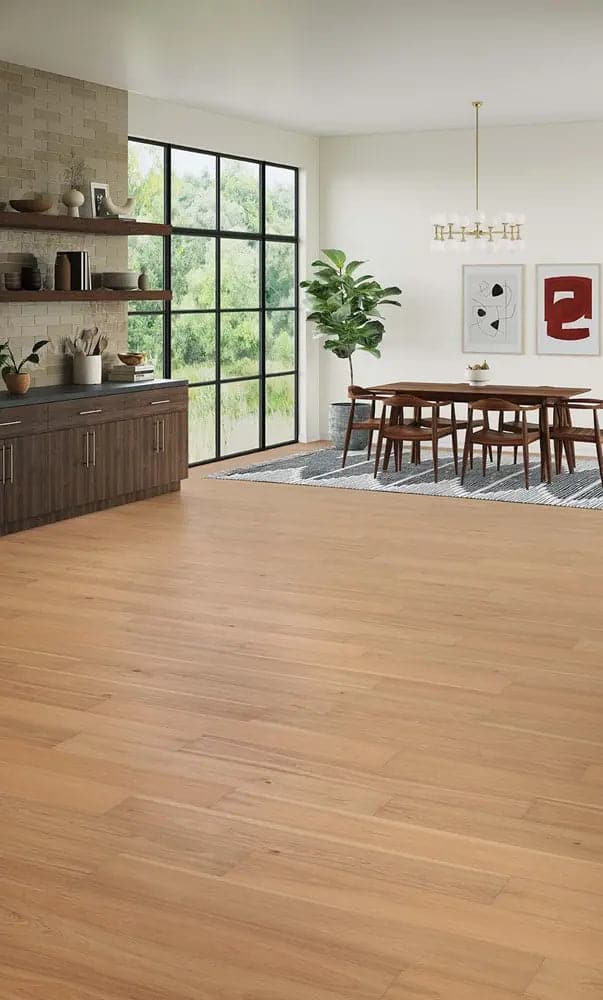
Laminate flooring is a popular choice for its durability and easy maintenance. Over time, however, wear and tear can take a toll on its appearance. Fear not! Laminate floor restoration is a cost-effective way to breathe new life into your floors, bringing back their original luster. Let’s dive into the process and discover how you can renew and shine.
Assessing the Condition: A Step-by-Step Evaluation
Before embarking on the restoration journey, assess the current condition of your laminate floors. Identify areas with scratches, dullness, or discoloration. Understanding the extent of the damage will help you determine the appropriate restoration techniques needed for each specific issue.
Thorough Cleaning: A Fresh Start for Your Floors
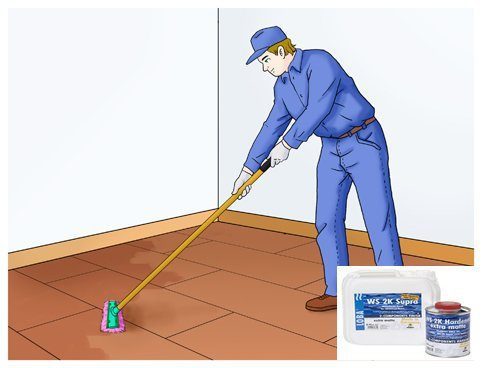
The first step in laminate floor restoration is a thorough cleaning. Remove dust, dirt, and debris using a vacuum or a soft broom. Follow up with a damp mop using a gentle laminate floor cleaner. This initial cleaning not only enhances the appearance but also prepares the surface for more targeted restoration efforts.
Scratch Repair: Addressing Surface Imperfections
Scratches are common on laminate floors, especially in high-traffic areas. Fortunately, there are various methods to repair surface scratches. Use a laminate floor repair kit, which typically includes putty or markers that match the floor color. Apply the product to the scratches, following the kit instructions, and watch as the imperfections fade away.
Dealing with Dullness: Restoring the Shine
Over time, laminate floors may lose their shine due to everyday wear. To restore the glossy finish, consider using a laminate floor polish. Apply the polish evenly across the floor, following the product guidelines. This step not only revitalizes the shine but also adds a protective layer to guard against future damage.
Color Restoration: Bringing Back Vibrancy
If your laminate floors have experienced color fading or discoloration, color restoration is the answer. Choose a quality laminate floor restorer that matches the original color of your floors. Apply the restorer with a soft cloth or applicator, ensuring even coverage. This process rejuvenates the color and leaves your floors looking vibrant once again.
Sealing and Protecting: Guarding Against Future Damage
To prolong the effects of laminate floor restoration, sealing and protecting the surface is crucial. Use a laminate floor sealer to create a protective barrier against stains, scratches, and moisture. Follow the application instructions carefully to ensure a thorough and even coat, providing long-term defense for your revitalized floors.
Laminate Floor Restoration: A Link to Renewed Elegance
Experience the transformative power of Laminate Floor Restoration with our curated selection of restoration products. Our range includes everything you need to revitalize your laminate floors and bring back their original elegance. Explore the collection and embark on a journey to renew and shine.
Conclusion: Unveiling the Beauty of Renewed Floors
In conclusion, laminate floor restoration unveils the beauty of renewed floors, breathing life back into your living spaces. From scratch repair and shine restoration to color rejuvenation and protective sealing, each step contributes to the overall revitalization of
Cork Floor Maintenance: Tips for Lasting Elegance and Durability

Unlocking the Secrets of Cork Floor Maintenance
Cork floors exude a natural warmth and elegance that can enhance any living space. To ensure your cork floors maintain their beauty and durability over time, proper maintenance is essential. Let’s delve into some valuable tips for effective cork floor care.
Understanding the Unique Qualities of Cork Floors
Cork flooring is renowned for its resilience, comfort underfoot, and eco-friendly nature. Understanding these unique qualities is the first step in proper maintenance. Cork is a natural material that requires specific care to preserve its longevity and charm.
Regular Cleaning for Everyday Maintenance
Routine cleaning is crucial for preserving the appearance of cork floors. Use a soft broom or vacuum with a hardwood floor attachment to remove dirt and debris regularly. Avoid abrasive brushes that can scratch the surface, ensuring a gentle yet effective cleaning routine.
Gentle Mopping Techniques
When it comes to mopping cork floors, a damp mop is your best friend. Mix a mild detergent with water and mop the floor gently. Avoid excessive water, as cork is susceptible to moisture damage. Dry the floor promptly to prevent water absorption and potential swelling.
Protecting Cork Floors from Furniture Scratches
Prevent scratches and dents by placing protective pads under furniture legs. This simple step safeguards your cork floors from the daily wear and tear caused by furniture movement. Regularly check and replace these pads to maintain their effectiveness.
Dealing with Spills Promptly
Cork floors are relatively resistant to spills, but it’s essential to address them promptly. Wipe up liquid spills immediately using a soft, absorbent cloth. This prevents the liquid from seeping into the cork and causing damage. Quick action is key to maintaining the integrity of your cork flooring.
Avoiding Harsh Chemicals
When cleaning cork floors, steer clear of harsh chemicals and abrasive cleaners. Opt for pH-balanced, cork-specific cleaning products or a mixture of water and vinegar for a natural and effective cleaning solution. Harsh chemicals can strip away the natural oils in cork, leading to a dull appearance.
Regular Sealing for Long-Term Protection
Cork floors benefit from regular sealing to protect against stains and damage. Follow the manufacturer’s recommendations for sealing frequency and use a quality cork sealant. This additional layer adds a protective barrier, preserving the beauty of your cork floors for years to come.
Preventing Sun Damage with Window Coverings
Direct sunlight can cause cork floors to fade over time. Prevent sun damage by using curtains or blinds to control sunlight exposure. Consider rearranging furniture periodically to ensure even exposure and prevent uneven fading.
Addressing Deep Stains and Scratches
For deep stains or scratches, a targeted approach is necessary. Gently sand the affected area, clean it thoroughly, and apply a matching finish or sealant. This method helps restore the affected area while maintaining a cohesive look throughout the floor.
Professional Maintenance for Comprehensive Care
Periodically, seek professional maintenance for a thorough assessment and care. Professional cork floor maintenance includes inspections, resealing, and addressing any issues that may have developed over
Marble Floor Polishing: Unveiling Radiant Elegance


Unveiling the Brilliance: The Art of Marble Floor Polishing
Marble floors exude timeless elegance, but maintaining their pristine appearance requires dedicated care. Marble floor polishing is a transformative process that revitalizes the natural beauty of this luxurious material. Let’s delve into the intricacies of marble floor polishing and unveil the steps to achieve radiant elegance.
Understanding the Beauty of Marble Floors
Marble, known for its distinctive veining and lustrous surface, is a natural stone that adds sophistication to any space. Marble floors are coveted for their timeless appeal and ability to elevate the aesthetic of both traditional and modern interiors. However, over time, foot traffic and daily wear can dull the marble’s shine, necessitating proper polishing to restore its brilliance.
Assessing the Condition of Your Marble Floors
Before diving into the polishing process, it’s essential to assess the condition of your marble floors. Identify any scratches, stains, or areas with diminished shine. Understanding the specific issues allows you to tailor the polishing approach to address the unique needs of your marble surfaces.
Preparation: Clearing the Space and Protecting Surfaces
Preparing the space for marble floor polishing is a crucial initial step. Clear the area of furniture and any obstacles. Additionally, protect walls and baseboards with tape or plastic sheeting to prevent splatters. Taking these precautions ensures a smooth and efficient polishing process without causing damage to surrounding elements.
Surface Cleaning: Removing Dirt and Debris
Before diving into polishing, thorough cleaning is essential. Remove dirt, dust, and debris from the marble surface using a soft broom or vacuum cleaner. This prevents abrasive particles from scratching the marble during the polishing process. For any stains, use a mild, pH-neutral cleaner suitable for marble surfaces.
Selecting the Right Polishing Method
There are various methods for marble floor polishing, and the choice depends on the condition of the marble. Honing is suitable for removing minor scratches and etches, while crystallization involves applying a chemical agent to create a protective layer. Wet polishing with diamond pads is effective for restoring a high-gloss finish. Assess your marble’s needs and choose the method accordingly.
Honing: Smoothing Out Imperfections
Honing is a technique that involves smoothing out imperfections on the marble surface. This process is effective for addressing minor scratches, etches, and dull spots. Honing utilizes abrasive pads to gently remove a thin layer of the marble, revealing a smoother and more uniform finish.
Crystallization: Creating a Protective Layer
Crystallization is a chemical process that creates a protective layer on the marble surface. A crystallization agent is applied and buffed into the marble using a weighted machine. This process not only restores shine but also enhances the marble’s resistance to scratches and stains. Crystallization is particularly suitable for high-traffic areas.
Wet Polishing: Restoring the High-Gloss Finish
Wet polishing with diamond pads is a widely used method for restoring a high-gloss finish to marble floors. This process involves gradually polishing the marble with pads of varying grits, starting with a coarser grit and progressing to finer ones. Water is