
Parquet Floor Care: Essential Tips for Lasting Beauty
/ways-to-make-hardwood-floors-shine-1901094_hero_0143-cb7a9189a3ec464d9c1f9a9b304e4d70.jpg )
/ways-to-make-hardwood-floors-shine-1901094_hero_0143-cb7a9189a3ec464d9c1f9a9b304e4d70.jpg)
Unlocking the Timeless Beauty: A Guide to Parquet Floor Care
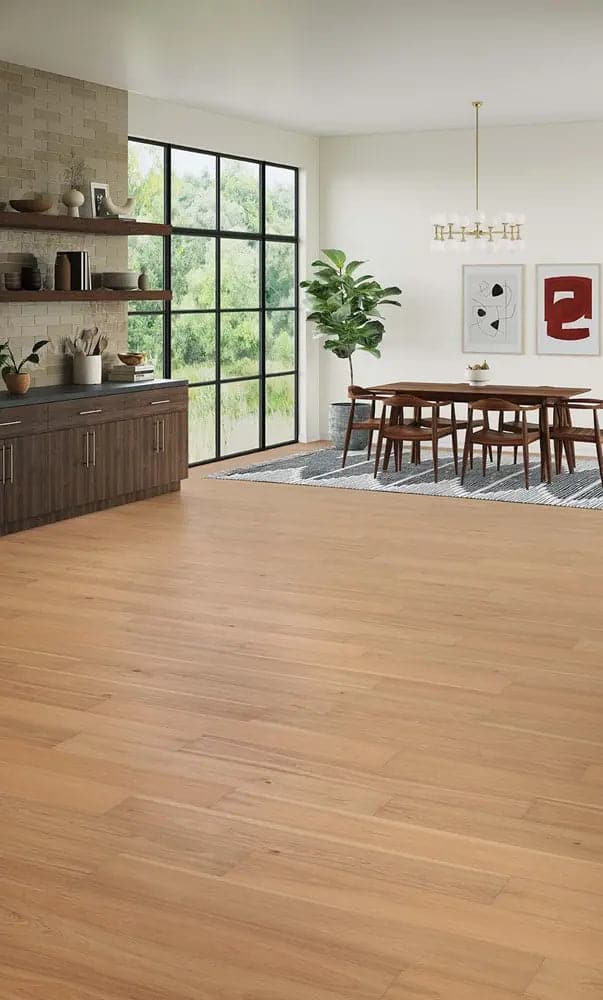
Maintaining the allure of parquet flooring requires a combination of proper care and attention to detail. As a timeless choice for homeowners, parquet floors can add elegance and warmth to any space. Let’s delve into essential tips and tricks to ensure your parquet floors retain their beauty for years to come.
Understanding the Essence: What is Parquet Flooring?
Parquet flooring is a unique and sophisticated choice characterized by intricate geometric patterns formed by small wood pieces. This type of flooring offers a timeless aesthetic, making it a popular option for those who appreciate classic design. Understanding the essence of parquet helps in grasping the specific care it demands.
Daily Maintenance Routine: A Gentle Touch
The key to preserving parquet floors lies in a gentle and consistent cleaning routine. Begin by removing loose dirt and debris with a soft broom or a vacuum cleaner with a hardwood floor attachment. Avoid using abrasive brushes, as they can scratch the delicate surface of the parquet. A soft touch in your daily maintenance goes a long way in preserving its natural beauty.
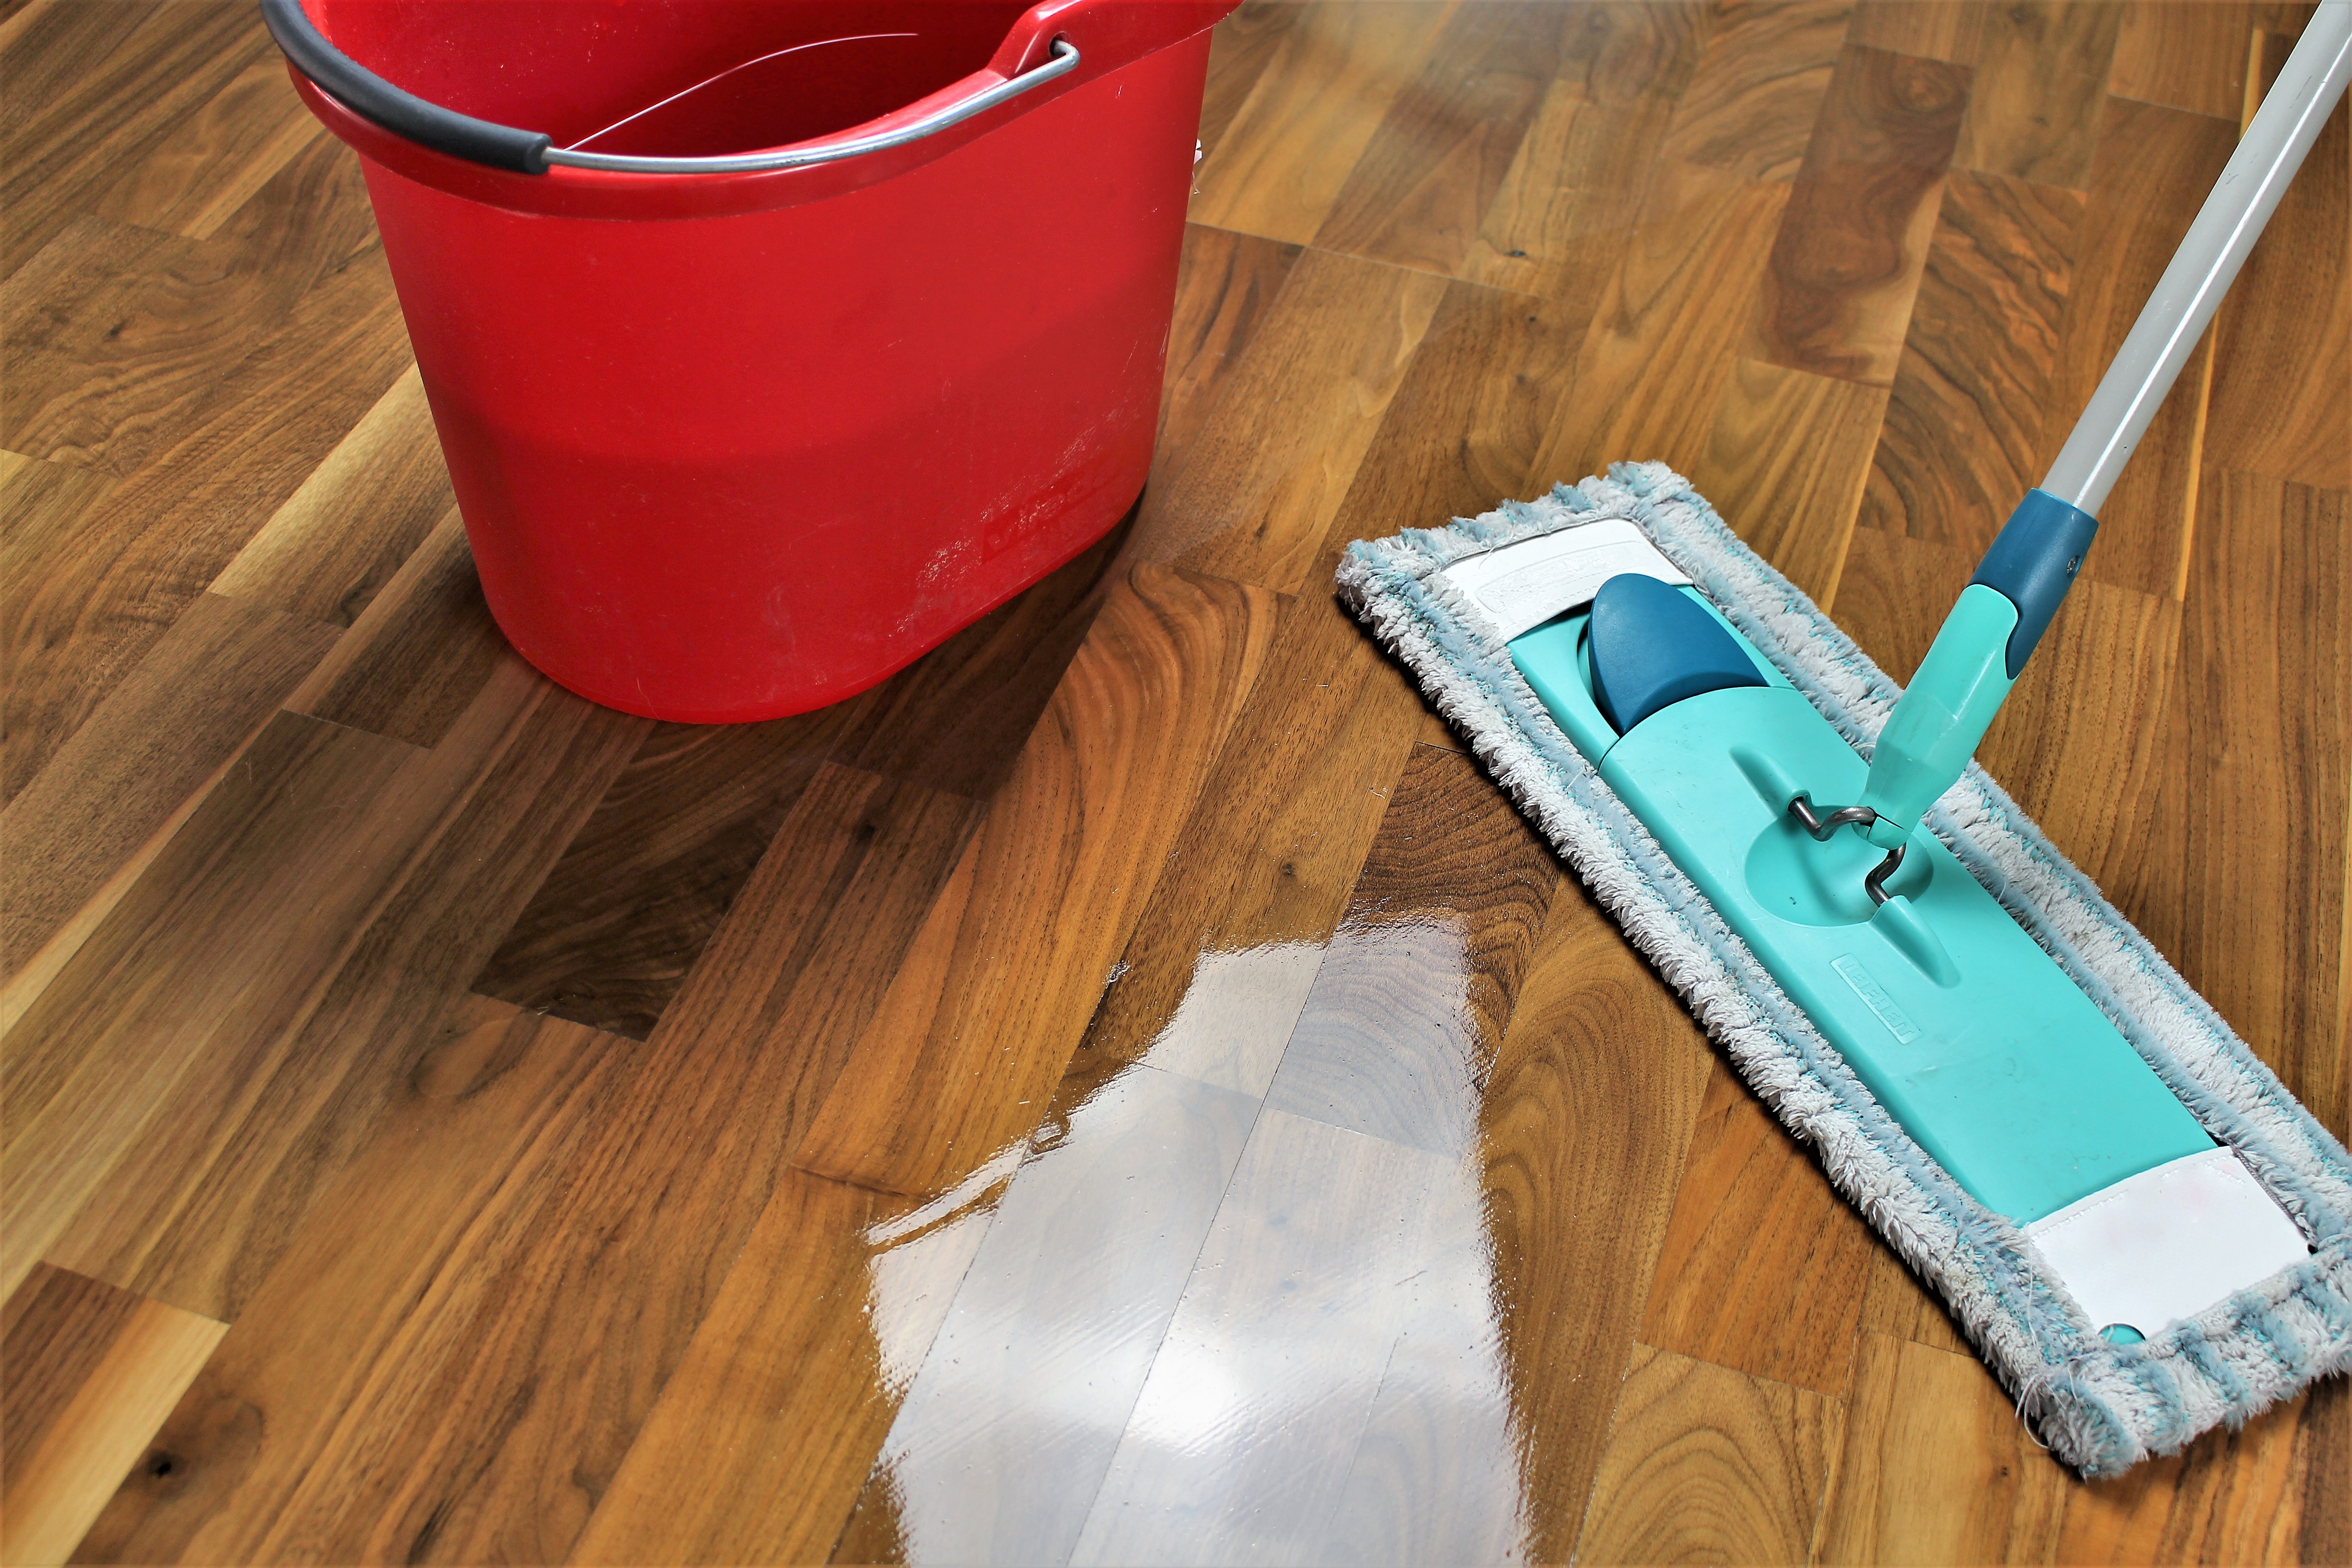
Mopping Mastery: Choosing the Right Cleaning Solutions
When it comes to mopping, selecting the right cleaning solution is crucial. Opt for a pH-neutral, parquet-friendly cleaner to avoid damage to the wood. Dampen a soft microfiber mop with the solution, ensuring it is not overly wet. Excess water can seep into the seams of the parquet, causing swelling and potential long-term damage.
Dealing with Spills: Swift Action is Key
Accidents happen, and spills are inevitable. The key is to address them promptly. Wipe away spills immediately with a soft, dry cloth to prevent the liquid from penetrating the wood. For tougher stains, use a slightly dampened cloth with a designated wood cleaner. Avoid harsh chemicals, as they can strip away the protective finish of the parquet.
Sunlight and Furniture: Shielding from Potential Harm
Protecting parquet floors extends beyond cleaning. Shield your floors from prolonged exposure to direct sunlight, as it can cause fading and discoloration. Consider using curtains or blinds to regulate sunlight. When arranging furniture, use protective pads underneath legs to prevent scratches and dents, ensuring your parquet remains pristine.
Periodic Deep Cleaning: Reviving the Shine
In addition to daily maintenance, periodic deep cleaning is essential to revive the shine of parquet floors. Use a specialized wood floor cleaner and follow the manufacturer’s instructions. This deep-cleaning process removes ingrained dirt and grime, restoring the luster of your parquet.
Humidity Control: Maintaining Balance
Wood is sensitive to changes in humidity, and parquet floors are no exception. Maintain a stable indoor humidity level to prevent the wood from expanding or contracting. Consider using a humidifier or dehumidifier, especially in regions with extreme climate variations, to ensure the longevity of your parquet flooring.
Protective Measures: Area Rugs and Mats
Strategic placement of area rugs and mats in high-traffic areas can significantly contribute to the preservation of parquet floors. These protective measures prevent excessive wear and
Renew and Shine: Laminate Floor Restoration

Revitalize Your Space: Laminate Floor Restoration
Laminate flooring is a popular choice for its durability and easy maintenance. Over time, however, wear and tear can take a toll on its appearance. Fear not! Laminate floor restoration is a cost-effective way to breathe new life into your floors, bringing back their original luster. Let’s dive into the process and discover how you can renew and shine.
Assessing the Condition: A Step-by-Step Evaluation
Before embarking on the restoration journey, assess the current condition of your laminate floors. Identify areas with scratches, dullness, or discoloration. Understanding the extent of the damage will help you determine the appropriate restoration techniques needed for each specific issue.
Thorough Cleaning: A Fresh Start for Your Floors
The first step in laminate floor restoration is a thorough cleaning. Remove dust, dirt, and debris using a vacuum or a soft broom. Follow up with a damp mop using a gentle laminate floor cleaner. This initial cleaning not only enhances the appearance but also prepares the surface for more targeted restoration efforts.
Scratch Repair: Addressing Surface Imperfections
Scratches are common on laminate floors, especially in high-traffic areas. Fortunately, there are various methods to repair surface scratches. Use a laminate floor repair kit, which typically includes putty or markers that match the floor color. Apply the product to the scratches, following the kit instructions, and watch as the imperfections fade away.
Dealing with Dullness: Restoring the Shine
Over time, laminate floors may lose their shine due to everyday wear. To restore the glossy finish, consider using a laminate floor polish. Apply the polish evenly across the floor, following the product guidelines. This step not only revitalizes the shine but also adds a protective layer to guard against future damage.
Color Restoration: Bringing Back Vibrancy
If your laminate floors have experienced color fading or discoloration, color restoration is the answer. Choose a quality laminate floor restorer that matches the original color of your floors. Apply the restorer with a soft cloth or applicator, ensuring even coverage. This process rejuvenates the color and leaves your floors looking vibrant once again.
Sealing and Protecting: Guarding Against Future Damage
To prolong the effects of laminate floor restoration, sealing and protecting the surface is crucial. Use a laminate floor sealer to create a protective barrier against stains, scratches, and moisture. Follow the application instructions carefully to ensure a thorough and even coat, providing long-term defense for your revitalized floors.
Laminate Floor Restoration: A Link to Renewed Elegance
Experience the transformative power of Laminate Floor Restoration with our curated selection of restoration products. Our range includes everything you need to revitalize your laminate floors and bring back their original elegance. Explore the collection and embark on a journey to renew and shine.
Conclusion: Unveiling the Beauty of Renewed Floors
In conclusion, laminate floor restoration unveils the beauty of renewed floors, breathing life back into your living spaces. From scratch repair and shine restoration to color rejuvenation and protective sealing, each step contributes to the overall revitalization of
Floor Restoration Tips: Bring Your Surfaces Back to Life

Floor Restoration Tips: Bring Your Surfaces Back to Life
Whether you’ve just moved into a new home or want to revitalize the beauty of your existing space, floor restoration can make a significant difference. Here are some valuable tips to help you bring your surfaces back to life.
Understanding Your Floor Type
Before diving into restoration, it’s crucial to identify the type of flooring you have. Whether it’s hardwood, laminate, tile, or another material, each surface requires specific care. Check manufacturer guidelines or consult with experts to ensure you’re using the right products and techniques.
Deep Cleaning for a Fresh Start
Start the restoration process with a thorough deep cleaning. Remove dirt, grime, and any old finishes that may have dulled the appearance of your floors. Use appropriate cleaning solutions and tools, taking care not to damage the surface. This initial step sets the foundation for the restoration process.
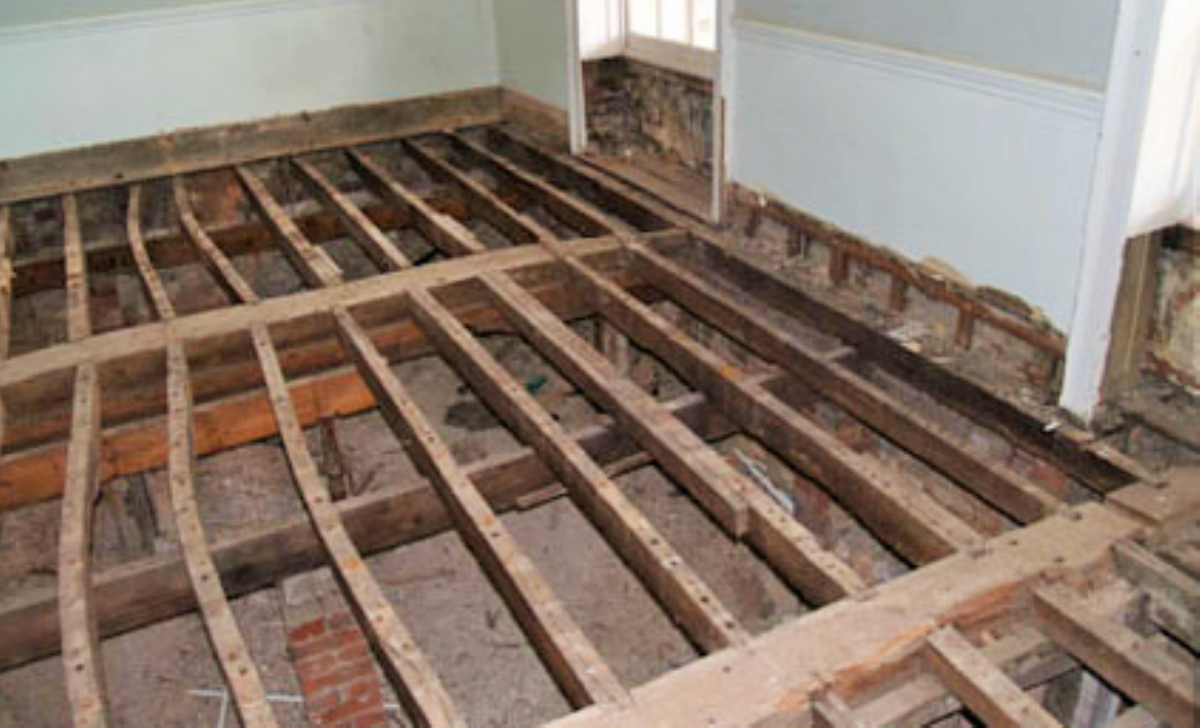
Repairing and Patching
Inspect your floors for any damage, such as scratches, dents, or cracks. Depending on the material, you may need to fill in gaps or replace damaged sections. For wooden floors, consider sanding to remove imperfections and create a smooth surface. Patching up these issues ensures a more even and attractive finish.
Choosing the Right Finish
Selecting the right finish is a critical aspect of floor restoration. The finish not only enhances the aesthetic appeal but also provides protection against future wear and tear. Whether you opt for a glossy finish for a sleek look or a matte finish for a more natural appearance, ensure it complements your overall design and lifestyle.
Applying the Finish with Care
Once you’ve chosen the appropriate finish, apply it with precision. Use long, even strokes to achieve a uniform coating. Pay attention to drying times and ventilate the space adequately. Applying the finish correctly ensures durability and a polished look that lasts.
Routine Maintenance for Longevity
After restoring your floors, implement a routine maintenance plan to preserve their beauty. Regular cleaning, avoiding harsh chemicals, and using furniture pads to prevent scratches contribute to the longevity of your newly restored surfaces. By incorporating these habits, you’ll enjoy the results of your hard work for years to come.
Seeking Professional Assistance
For complex or extensive floor restoration projects, don’t hesitate to seek professional assistance. Flooring experts have the knowledge and tools to tackle challenging issues and ensure a flawless finish. Consulting with professionals can save you time and potentially prevent costly mistakes.
Floor Restoration Tips for Every Homeowner
In conclusion, floor restoration is a rewarding endeavor that can breathe new life into your living space. Understanding your floor type, deep cleaning, repairing and patching, choosing the right finish, applying it carefully, and maintaining your floors are key steps. For more in-depth guidance and a wide range of floor restoration products, visit Floor Restoration Tips. Whether you’re a DIY enthusiast or prefer professional help, these tips will help you achieve stunning results and enjoy the beauty of your floors for years to come.
Sparkling Floors: Genius Floor Cleaning Hacks

Sparkling Floors: Unveiling Genius Floor Cleaning Hacks
Maintaining pristine floors doesn’t have to be a chore with these ingenious floor cleaning hacks. From budget-friendly solutions to time-saving tricks, discover how to keep your floors sparkling with minimal effort. Let’s dive into the world of floor cleaning efficiency.
1. DIY All-Purpose Cleaner: Budget-Friendly Brilliance
Create a DIY all-purpose cleaner using common household items. Mix equal parts water and white vinegar for an effective and budget-friendly solution. Add a few drops of essential oil for a pleasant fragrance. This versatile cleaner works wonders on various floor surfaces, leaving them spotless and refreshed.
2. Steam Mop Magic: Efficient and Eco-Friendly
Invest in a steam mop for an efficient and eco-friendly floor cleaning experience. Steam not only removes dirt and grime but also sanitizes the floor without the need for harsh chemicals. It’s a time-saving solution that ensures your floors are not just clean but also free from harmful germs.
3. Baking Soda Boost: Stubborn Stain Savior
For stubborn stains and odors, turn to the power of baking soda. Sprinkle baking soda on stained areas, add a bit of water to form a paste, and let it sit for a few minutes. Scrub gently and watch as the stains vanish. This natural and economical solution works wonders on various floor types.
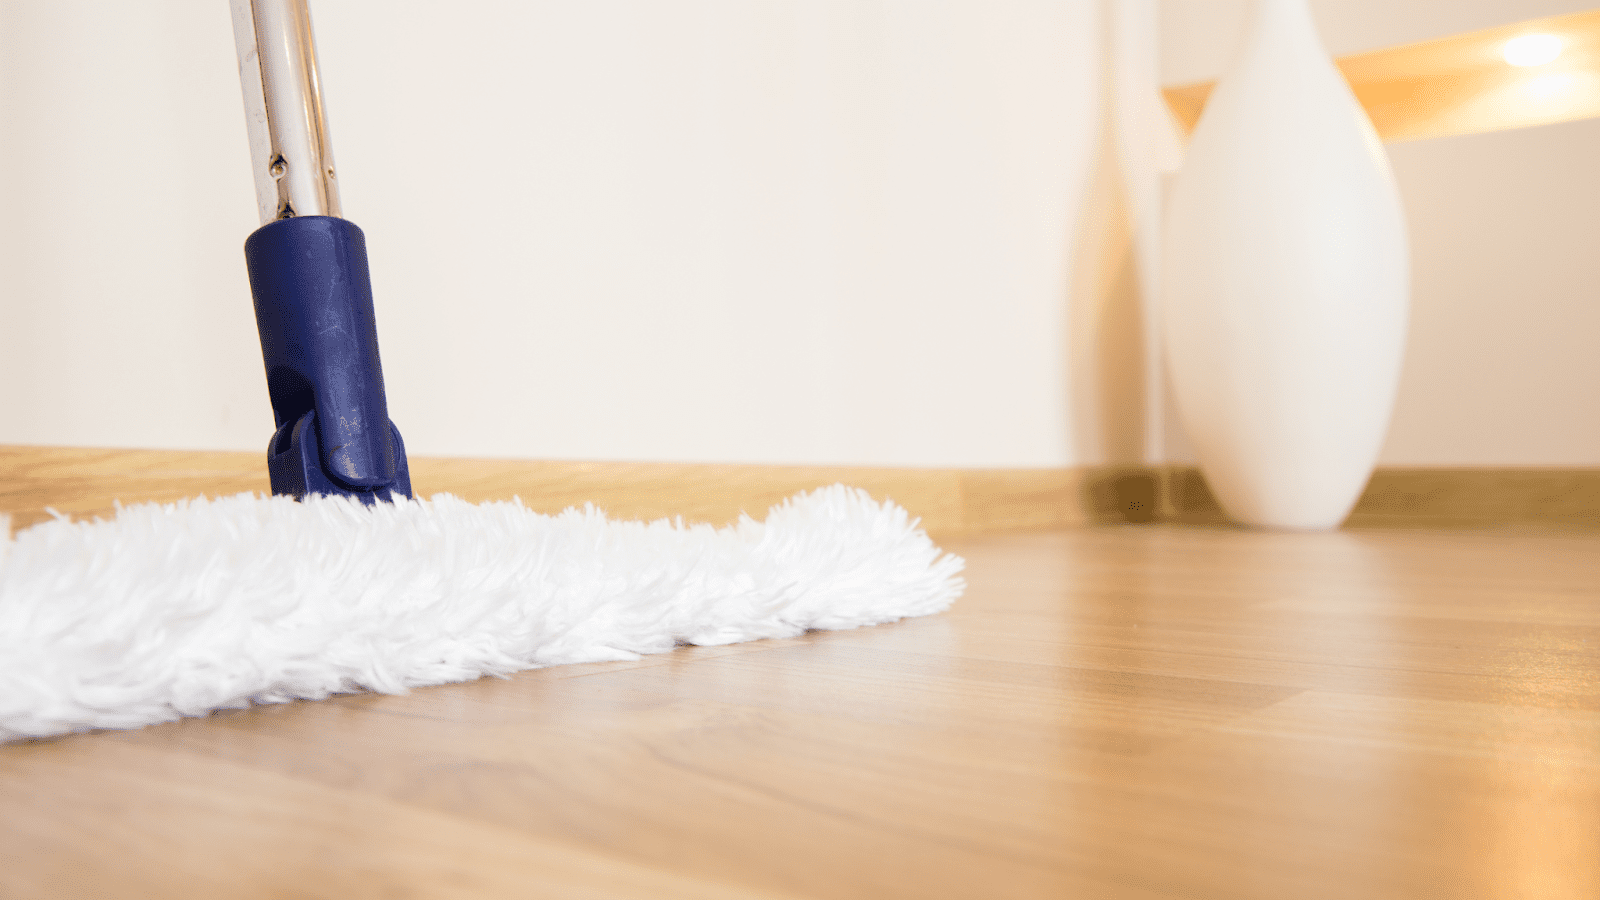
4. Microfiber Marvel: Trap and Lift Dust
Swap traditional mops for microfiber mops to efficiently trap and lift dust and debris. Microfiber’s electrostatic properties make it highly effective in capturing particles, leaving your floors not just clean but also allergen-free. This modern mop is a game-changer in floor cleaning.
5. Vinegar and Olive Oil Elegance: Wood Floor Care
For luxurious wood floors, create a vinegar and olive oil mixture. Combine white vinegar with olive oil in a spray bottle and lightly mist over your wood floors. Wipe with a microfiber cloth for a streak-free shine. This simple concoction is a gentle and effective way to care for your wooden surfaces.
6. Ice Cube Trick: Gum and Wax Removal
Dealing with gum or wax on your floor? Freeze it out with an ice cube. Place the ice cube on the gum or wax until it hardens. Once hardened, gently scrape it away with a plastic scraper. This neat trick ensures a mess-free removal without damaging your floor.
7. Sock Slippers: Clean While You Walk
Turn cleaning into a fun and effortless activity with sock slippers. Place microfiber cleaning pads on the bottom of old socks and wear them as you walk around the house. The gentle rubbing action picks up dirt, making it a quirky yet effective way to maintain clean floors daily.
8. Lemon Freshness: Natural Scent Booster
Enhance your floor cleaning routine with the fresh scent of lemons. Mix lemon juice with water and use it to mop your floors. Not only does it leave your home smelling citrusy, but the natural acidity of lemons also helps break down grime and adds a streak-free shine.
9. Dryer Sheet Dusting: Static-Free Surfaces
Combat
Linoleum Floor Care: Tips for Long-lasting Elegance


Unveiling the Secrets of Linoleum Floor Care
Linoleum floors offer a perfect blend of durability and timeless elegance, making them a popular choice for many homeowners. To maintain their pristine appearance and extend their lifespan, it’s crucial to follow a proper linoleum floor care routine. Let’s delve into some essential tips for keeping your linoleum floors looking beautiful.
Understanding Linoleum’s Unique Properties
Before diving into linoleum floor care, it’s essential to understand the unique properties of this flooring material. Linoleum is made from natural ingredients like linseed oil, wood flour, cork dust, and mineral pigments. This composition gives linoleum its resilient and eco-friendly qualities, making it crucial to use suitable cleaning methods.
Daily Sweeping and Dusting
The first line of defense in linoleum floor care is regular sweeping and dusting. Use a soft broom or vacuum with a soft brush attachment to remove dirt, dust, and debris. This simple routine prevents small particles from scratching the surface and keeps your linoleum floors looking clean.
Gentle Mopping Techniques
When it comes to mopping linoleum floors, a gentle approach is key. Use a damp mop with a mixture of mild soap and water for regular cleaning. Avoid excessive water, as linoleum is susceptible to moisture damage. Ensure the mop is well-wrung to prevent water from seeping into seams or edges.
Dealing with Spills Promptly
Linoleum is generally resistant to spills, but it’s crucial to address them promptly. Wipe up liquid spills immediately with a soft cloth to prevent staining. For tougher stains, use a mixture of mild soap and water, avoiding harsh chemicals that may damage the linoleum’s protective layer.
Avoiding Harsh Chemicals and Abrasives
Speaking of chemicals, it’s crucial to avoid harsh cleaning agents and abrasive tools when caring for linoleum floors. These can strip away the protective coating and dull the surface. Stick to pH-neutral, linoleum-specific cleaning products for effective yet gentle maintenance.
Periodic Polishing for Shine
To maintain the natural shine of linoleum floors, periodic polishing is recommended. Choose a linoleum floor polish that’s compatible with your flooring and follow the manufacturer’s instructions. Polishing helps rejuvenate the surface and adds a protective layer for enhanced durability.
Preventing Scratches and Scuffs
Prevent scratches and scuffs by placing protective pads under furniture legs and using rugs or mats in high-traffic areas. Encourage family members to remove shoes indoors to minimize the risk of abrasive particles causing damage. These simple preventive measures go a long way in preserving the integrity of your linoleum floors.
Sunlight Protection for Color Longevity
Direct sunlight can cause linoleum floors to fade over time. Protect your floors from prolonged exposure to sunlight by using curtains or blinds. Consider rearranging furniture periodically to ensure even exposure, preventing uneven fading and maintaining the vibrancy of the flooring.
Routine Inspections for Early Maintenance
Incorporate routine inspections into your linoleum floor care routine. Check for any signs of wear, damage, or areas that may require additional attention. Early detection allows for timely maintenance and prevents minor issues from escalating into more
Floor Buffing Mastery: Pro Techniques for Shine

Floor Buffing Mastery: Pro Techniques for Shine
Floor buffing is an essential skill for maintaining the pristine appearance of various surfaces. Whether you are a cleaning professional or a homeowner looking to elevate your floor care routine, mastering the art of floor buffing techniques can make a significant difference in the overall aesthetic of your space.
Understanding the Basics
To embark on the journey of floor buffing mastery, it’s crucial to comprehend the basics. Begin by selecting the appropriate buffing machine and the right type of pad for your floor. Different surfaces require specific pads to achieve optimal results. Understanding the compatibility between the machine, pad, and floor type lays the foundation for a successful buffing experience.
Proper Preparation for Buffing
Before diving into the buffing process, thorough preparation is key. Start by cleaning the floor surface to remove any dirt, dust, or debris. A clean surface ensures that the buffing machine can work efficiently without encountering obstacles that might hinder its performance. Additionally, it prevents scratches on the floor and allows for a smoother buffing process.
Choosing the Right Buffing Technique
There are various buffing techniques, each serving a specific purpose. The most common techniques include spray buffing, dry buffing, and wet buffing. Understanding when and how to employ each technique is essential for achieving the desired results. Experimenting with different techniques on a small, inconspicuous area can help determine the most effective approach for your specific floor type.
Proper Movements and Pressure
When operating a buffing machine, the way you move and apply pressure plays a significant role in the outcome. Maintain a steady and controlled pace, overlapping each pass slightly to avoid uneven results. Adjust the pressure based on the floor type – heavier pressure for tougher stains and lighter pressure for a final polish. Consistency in movements and pressure application contributes to a uniform and attractive floor finish.
Regular Maintenance Routine
Floor buffing is not a one-time task; it requires regular maintenance to preserve the shine. Establishing a routine that includes periodic buffing sessions can prevent the accumulation of dirt and scratches, extending the life of your floor. Regular maintenance also ensures that your floor continues to impress visitors and maintains a professional appearance.
Advanced Techniques for Exceptional Shine
For those seeking an extra level of shine, advanced floor buffing techniques can be employed. This includes using specialized polishing compounds and finishes to enhance the gloss and durability of the floor. Experimenting with these advanced techniques can take your floor buffing skills to the next level, achieving a mirror-like finish that adds elegance to any space.
Floor Buffing Techniques – Elevating Your Space
In conclusion, mastering floor buffing techniques is a valuable skill that contributes to the overall aesthetics and cleanliness of your space. By understanding the basics, preparing adequately, choosing the right technique, applying proper movements and pressure, maintaining a regular routine, and exploring advanced techniques, you can achieve a floor that radiates professionalism and sophistication.
To learn more about floor buffing techniques and discover